
Preview Toolpaths
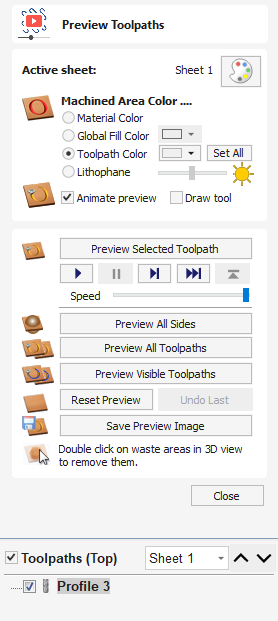
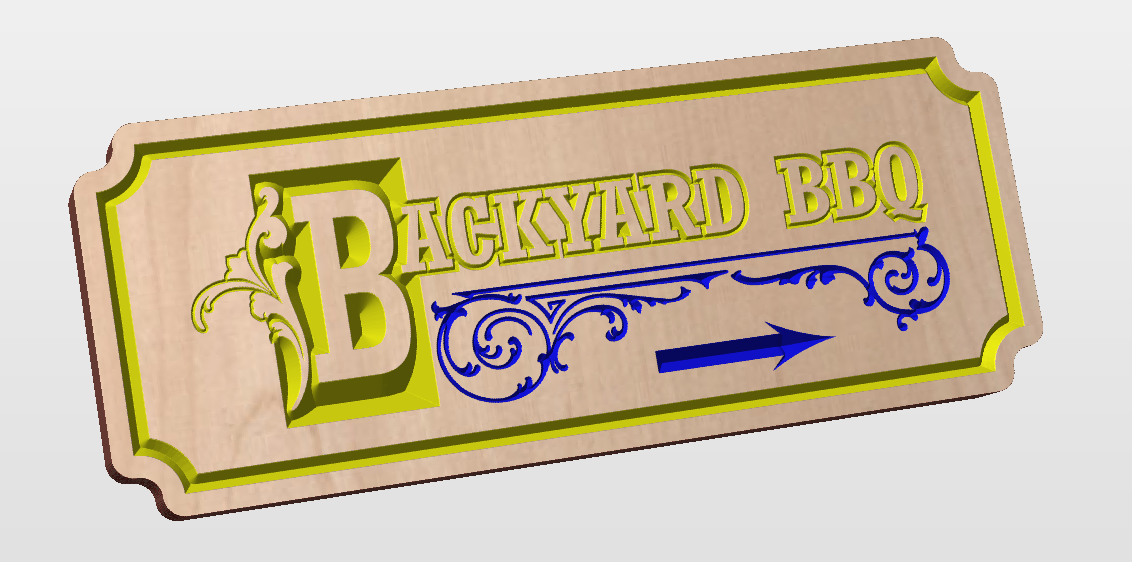
Calculated toolpaths can be previewed to see exactly what they will produce when cut into the material. The 3D preview mode also allows the job to be viewed in different material types with the option to paint the machined regions with a Fill Color.
 Active Sheet
Section titled “ Active Sheet”The active sheet label shows the sheet that is currently active. Each sheet can be given different material settings. The active sheet can be toggled by clicking within the 2D view, or using the dropdown menu in the toolpaths tree.
Material Selection
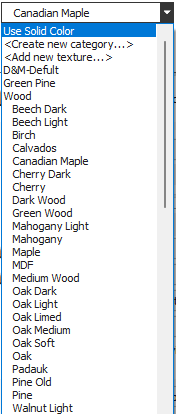
Section titled “ Material Selection”Clicking the color palette icon will pop up the Material Appearance dialog, allowing you to edit the appearance of the 3D shaded image for visualization purposes. The pull-down list offers a range of material types to shade the 3D model.
Use Solid Color
Section titled “ Use Solid Color”If this is selected the color for the material can be selected from the color picker below the list.
Use Material
Section titled “ Use Material”The user can choose from the list of pre-defined material effects by clicking on appropriate position on the list. These include many wood grains, metal effects, stone and plastic.
Adding Custom Materials
Section titled “ Adding Custom Materials”Additional materials can be added to the library using the list itself. You can add a category (folder) which groups your textures using
Alternatively, you can copy an image file (JPG, BMP or TIF) of the material or image you wish to render the job with into the Textures folder within the ‘Application Data Folder’. You can open the Application Data Folder from within the program using the File ► Open Application Data Folder menu command.
Shading textures can be obtained from sources such as the internet, clipart libraries or simply create your own from a digital or scanned photographs. For good quality results the image needs to be approximately 1000 pixels x 1000 pixels. The texture image is simply scaled proportionally in X and Y to fit the longest side of the job.
Machined Area Color
Section titled “ Machined Area Color” Material Color
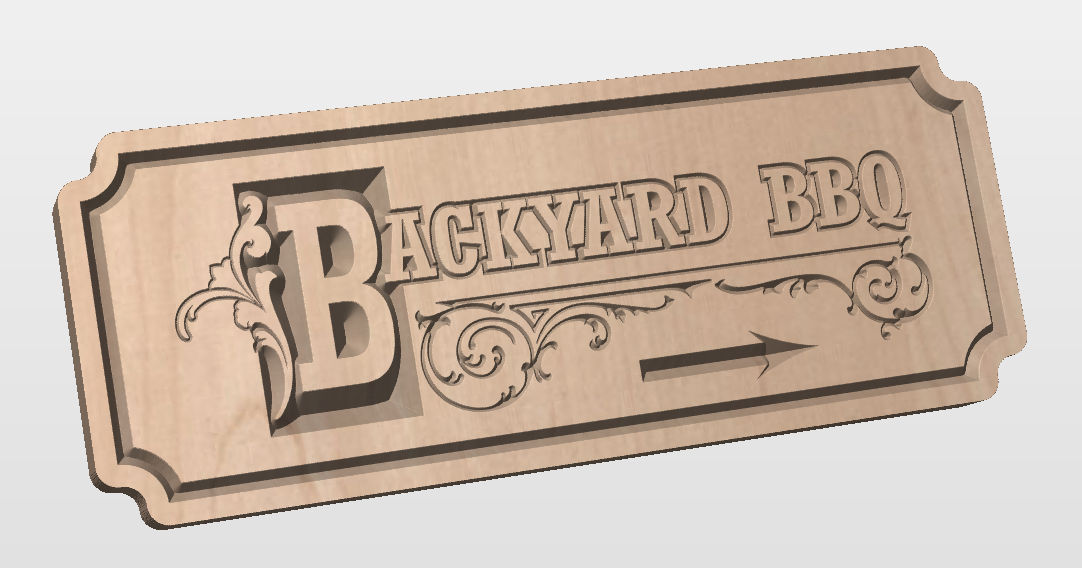
Section titled “ Material Color”With this setting, the areas of your preview will simply be colored using the material defined above. Effectively this switches off independent material settings for your machined areas.
Global Fill Color
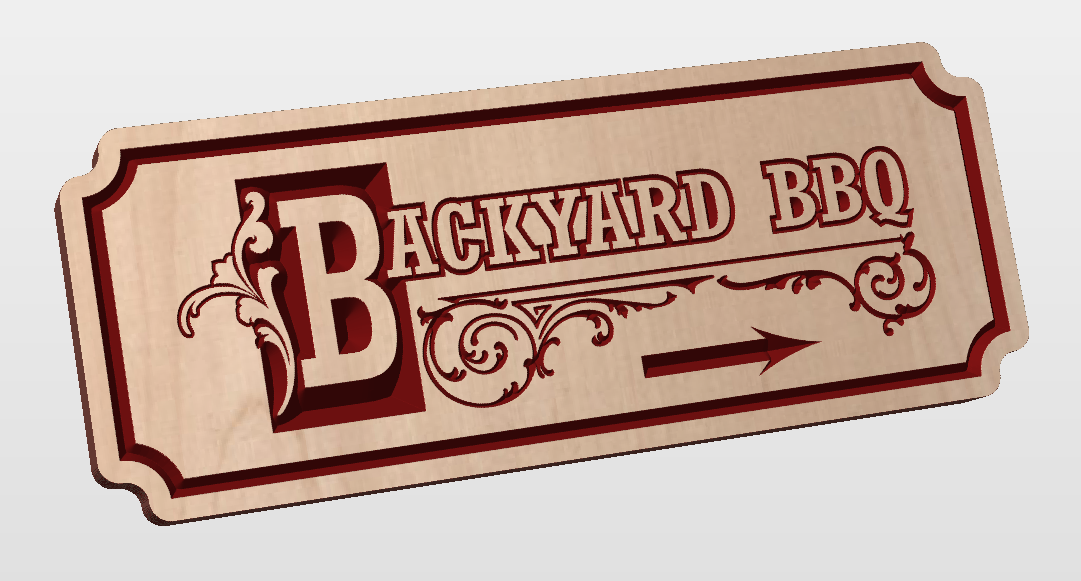
Section titled “ Global Fill Color”Paints all the machined regions with the selected color. Selecting the associated pull-down list opens the default color selection form. Click on one of the preset colors, or click More Colors… to create a completely custom color.
Toolpath Color
Section titled “ Toolpath Color”If this option is selected, each toolpath can have a different color assigned. If the ‘No Fill’ option is selected from the color picker form, the current toolpath will be shown in the material color.
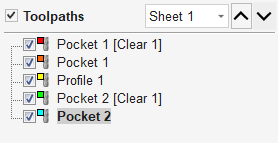
Choose the color you want for the fill of that toolpath and it will be applied to the areas that the toolpath has carved when they are previewed. Once you assign an individual color a small square of that color will be displayed next to the name in the toolpath list. This can be seen top left of each tool icon:
Lithophane
Section titled “ Lithophane”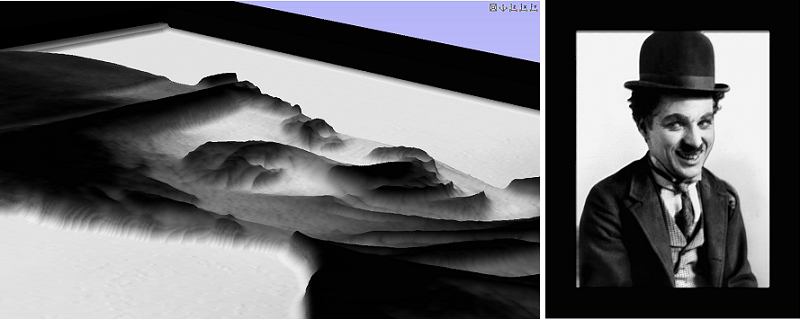
Lithophane mode allows the preview to be shaded to give the effect of a semi-transparent material which is being lit from behind. The thinnest areas of material will appear brightest and then the brightness will be reduced to be lowest at the full material thickness.
Lithophane mode will work with whatever material or solid color is selected. The brightness of the material will vary between white at 0 material thickness and the selected color at full material thickness.
How a lithophane appears can vary depending on many factors including ambient lighting in the room, how strong the light behind the lithophane is and the properties of the material being used. The slider bar next to the lithophane option allows you to adjust the slider to account for these and to pick a value that looks right to you.
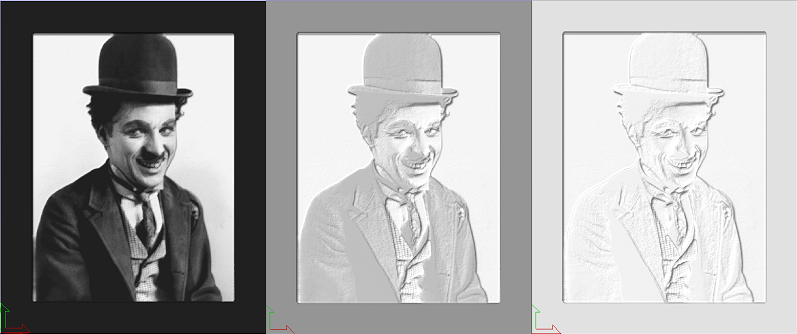
The below image shows the effect of changing the brightness slider. A white material has been chosen, as the slider increases from the left to the right the effect changes from being very high contrast to a much lighter appeance like you might see if no backlighting had been applied.
Animation Settings
Section titled “ Animation Settings” Animate preview
Section titled “ Animate preview”This option will show the material being removed by the cutter as the preview is drawn.
Draw tool
Section titled “ Draw tool”This option will show a wireframe animation of the tool (to scale) cutting the job.
Toolpath Preview Tools
Section titled “ Toolpath Preview Tools” Preview Toolpath
Section titled “ Preview Toolpath”This option animates the selected toolpath cutting into the material
Preview Control Simulation
Section titled “ Preview Control Simulation”The preview controls provide full video-like playback control of your toolpath. You can use this mode to analyze the tool moves in detail, step-by-step. To begin using Preview Control, click on either the Run, Single Step or Run to Retract buttons;


Preview All Sides
Section titled “ Preview All Sides”This option animates all calculated toolpaths cutting into the material on both sides if working in a two sided environment without being in the ‘Multi Sided View’ mode (This option will be grayed out if working in a single sided setup)
Preview All Toolpaths
Section titled “ Preview All Toolpaths”This option animates all calculated toolpaths cutting into the material
Preview Visible Toolpaths
Section titled “ Preview Visible Toolpaths”Previews all the visible toolpaths
Reset Preview
Section titled “ Reset Preview”Resets the material back to a solid block
Save Preview Image
Section titled “ Save Preview Image”Saves an image of the 3D window as a BMP, PNG, JPG or GIF file